DIY Welcome Mat

As we welcome in the new year, let me welcome you into my home. Door mat

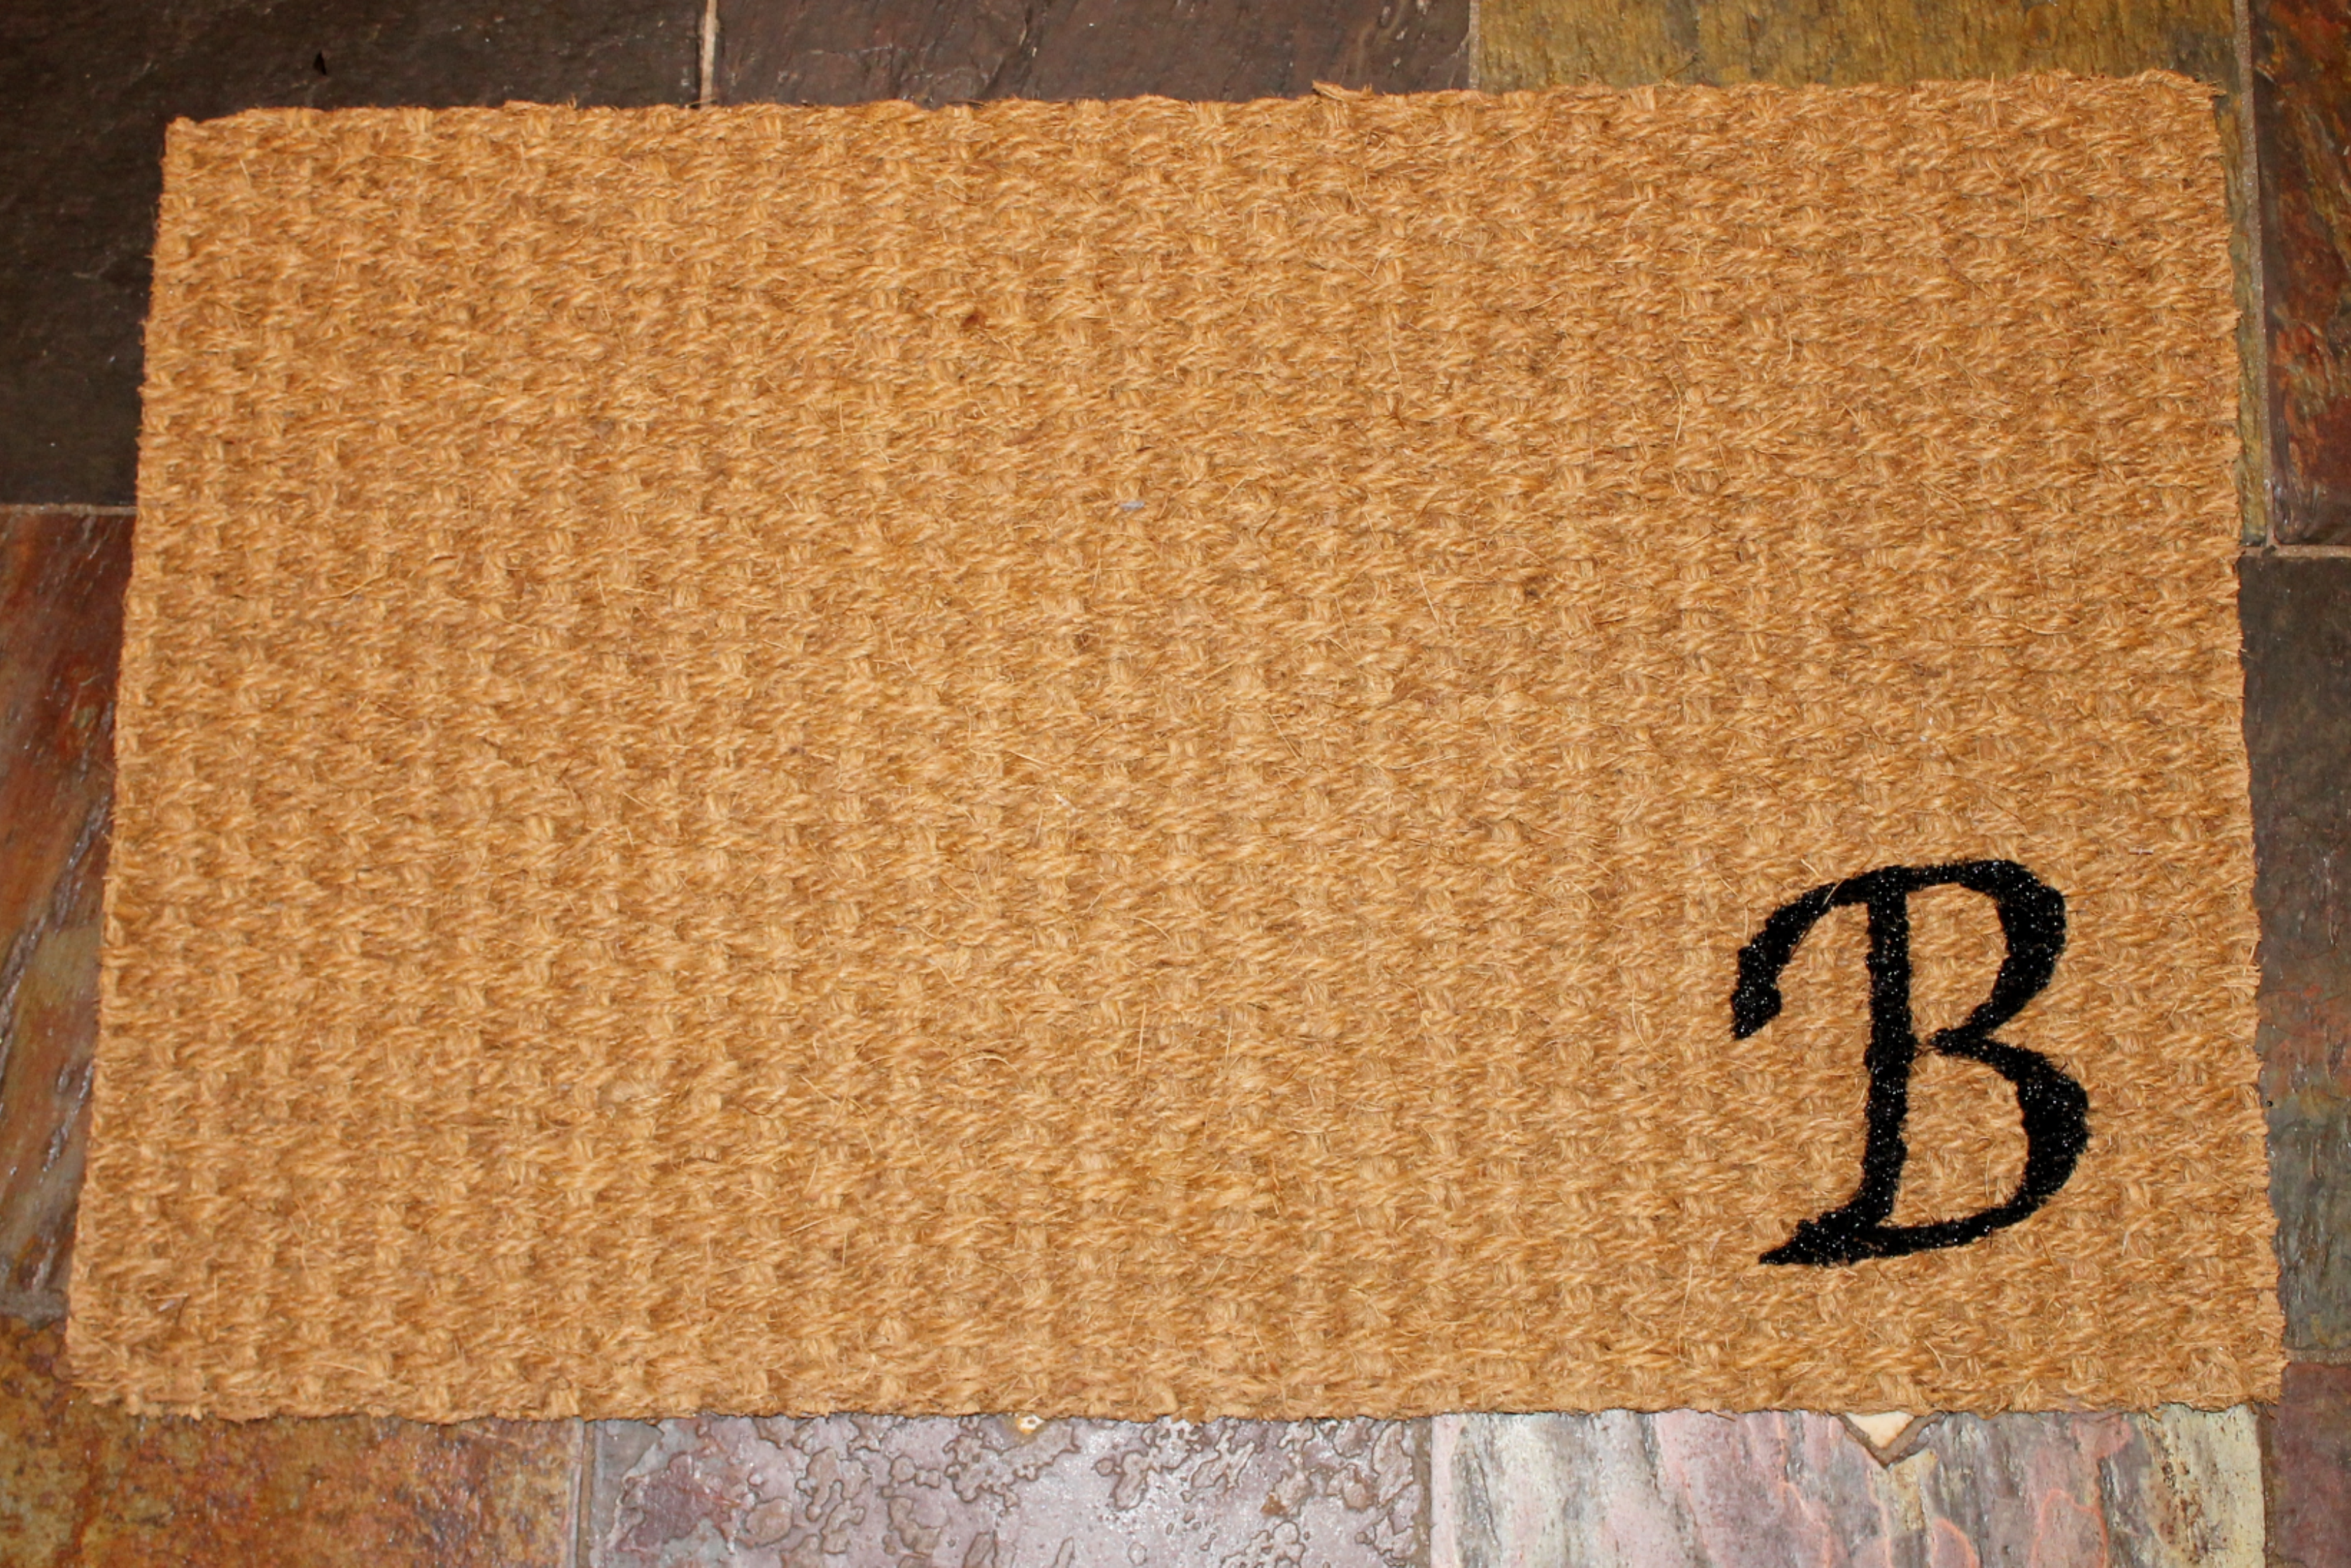
Do you realize that your front door makes a big impression on your house? Just like they say, the first impression is a lasting impression. A door mat is part of that first impression. In preparing for a new house, I also wanted a new doormat. Out with the old dirty one and in with a personalized one. But like always, price is a factor. Monogrammed doormats can be found on Amazon for $25 and more (some were over $100 – ridiculous). I was determined to find a less expensive alternative – enter another DIY project. For less than $6 (including tax) and some supplies I had on hand I now have a new doormat.

 diy Welcome Mat

I began with a plain doormat I found at IKEA for $4.99 and add some supplies I had on hand (a foam brush, acrylic paint, and some vinyl). Not pictured above is a smaller paint brush to help get into the crevices of the mat.

I used my trusty Cricut to cut a large letter B. I discarded the letter and kept the stencil. I applied the vinyl to the mat, being certain to a make sure it stuck to as many points on the woven mat as possible.

Next, I applied a coat of outdoor acrylic paint over the stencil with a foam brush. At this point I realized that the paint was sitting on the top of the mat at the high points and not getting in between the fibers very well, so I used a smaller brush. While the paint was still wet, I removed the stencil and touched up any spots that were missed.

All that was left was to let it dry and set it out at the new house.

The great water bottle solution

As a mother of two active children, we are forever losing water bottles. Looking in the lost and found box is useless, for they all look alike. While getting ready for camp this past year I was determined to be not lose another one.

water-bottle

It began with a bottle I found at the dollar tree (if it did get lost, at least I would not be out money too). Then, I used my Cricut to cut vinyl letters that I then placed on the bottle. It was a very easy project and took very little time to complete.

I was a little reluctant to post this at first, for I wanted to make sure that it would last more than a week. Well, here it is 6 months later and all is well. It not only came home from camp, the letters have remained in place after several washings.

I can not be more pleased. I might have to make a few of these for gifts this Christmas.

Wrinkled Heart SWAPS

Do you have a wrinkled heart? Not sure what a wrinkled heart is, let me explain. Do you remember what the class bully said to you in 3rd grade? Do you remember the mean words your best friend in high school said when you were having a fight? Do you remember the unkind words of your spouse in a heated moment? Sure, we all do. Those are wrinkles in our heart. No matter how many times you have forgiven the other person, satan still uses those words to create self-doubt, and insecurities within us. Those wrinkles are very hard to heal and only by God’s grace will that ever happen.In an attempt to encourage the girls at camp to choose their words wisely, I created the first SWAPS for the week.

Wrinkled Heart SWAP

This was a super quick SWAPS to make. I began by cutting out hearts from construction paper with my Cricut using the George and Basic Shapes cartridge that came with the machine. I then crumbled each heart up and then “re-flattened” it. All that was left was to add a tag. If you would like to make this SWAPS you can download and print the SWAPS tag below. If you are making this or any SWAPS don’t forget to add your name and troop number somewhere on the SWAPS. The back of the tag works great for this.
wrinkled heart

NOTE: The idea came from an elementary school counselor (here).

Etched Glass

Recently, I had a group of AHG leaders to my house. Being winter time and almost Christmas, I wanted to get each of them a little something. I decided to make coffee cups with their names etched on them.  Below is step by step, how I made them.

.
combo1. I purchased some clear glass mugs from the local Dollar Store.

2. Using my Cricut, I cut each name out of vinyl.

3. Using a product called Armour Etch, I applied a generous coat over the vinyl.

4. After 8 minutes, I rinsed the Armour Etch off and removed the vinyl.

.

Here is another image of the final product. I realize it is hard to see the etching, but I hope it helps.

Etched Glass

TIPS

  • For the names that were too big I used their initials to create a monogram.
  • Make sure the vinyl adheres completely or the image will not be crisp.
  • Be sure to wash each glass thoroughly before using.

Cost

  • 10 mugs from Dollar Store – $10.85 (including tax)
  • 3oz bottle of Armour Etch – $5.86 (after my 40% off coupon, including tax). I used less than half of the bottle
  • Vinyl – free since it was left over from another project
  • Total cost – $16.71 or $1.67 each

World’s Cheapest Christmas Tree

Christmas Tree

This year we had, what I believe to be, the “World’s Cheapest Tree”. It cost me less than $1.00 and some construction paper I already had.

First, let me explain why we did not put up our regular tree with lights and ornaments. The first of December, my hubby took a job in North Carolina, which means we are preparing to move. I spent most of the month of December getting the house ready to go on the market so we can sell and move. Since we did not want Christmas decorations in the pictures for the MLS listing, we delayed putting up any Christmas decorations. So, long story short, 4 days before Christmas we put up a tree.

I began with a 22×28 piece of poster board ($0.77 including tax with my Hobby Lobby 40% off coupon). I cut it into a rough tree shape. Next using my Cricut and some free SVG files I found online I cut ornament shapes and allowed the kids to color them and decorate. The tree was attached to the wall with painter’s tape, and the ornaments were then taped to the tree.  It was easy on my part and the kids were able to do the work. I don’t remember the last time the tree went up in less than 30 minutes. And taking it down should be a snap.