I mentioned during the Spring Shop Hop that I had picked up some new projects. One I am most excited about is a Hexagon Quilt-As-You-Go pattern. I am excited to dive into this, but I have to remind myself that quilting is for marathon runners not sprinter.
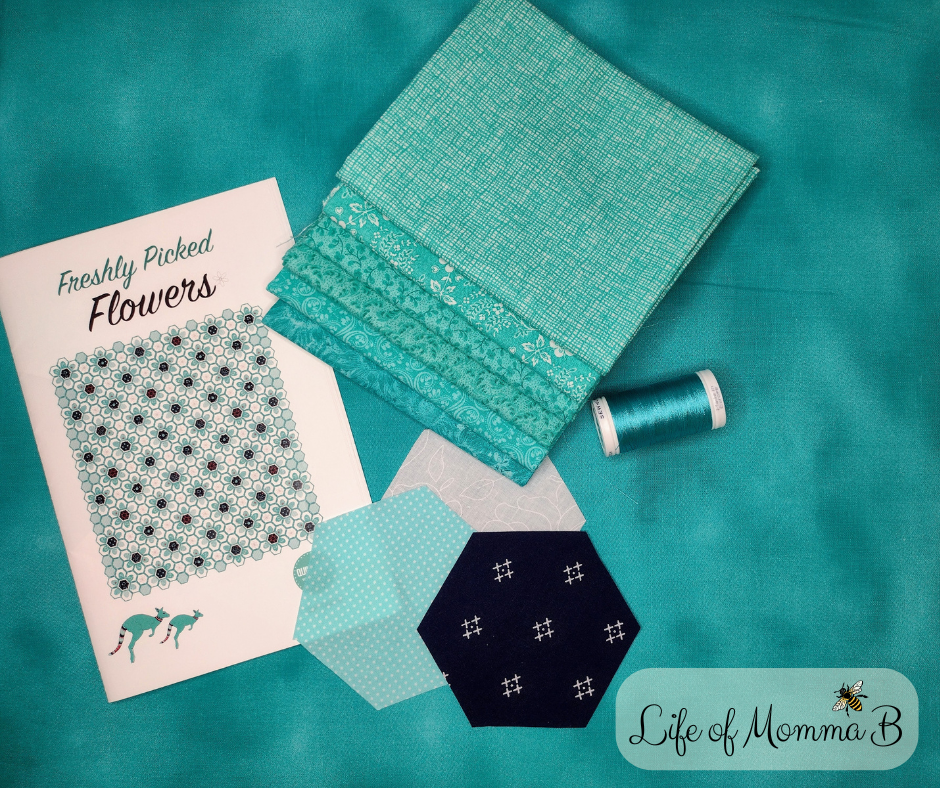
While at the Quilter’s Hide Out in Early, TX I fell in love with the pattern “Freshly Picked Flowers” by Jane Davidston. This is an older pattern, published in 2017, that I found on the clearance table. If your local quilt shop does not have the pattern, you can purchase a pdf version directly from the designer (here).
This is going to be a long-term hand sewing project. I anticipate it will take me more than 2 years to complete since I am only working on it while watching tv in the evenings, an hour or 2 at a time. After completing my Japanese quilt full of hand work, I was ready for another challenge. This quilt features appliqued petals. While the pattern is written for raw edge applique I have opted to use a more traditional applique technique, which will add to the time to complete it. I have also opted to hand embroider the filler hexagons, as shown on the pattern front. Thankfully, since it uses the quilt as you go method, once the top is complete, the quilt will be complete.
After completing a few sample hexagons, I took the plunge and bought all the fabric needed for this. I found a fat quarter bundle at JellyrollFabric.net that I thought would be perfect for the petals. This was my first time purchasing from JellyrollFabric.net and I hate to say that I am a little disappointed. The bundle they sent me did not match the picture online. I received 2 of the 10 prints pictured online and the fabric that was substituted was a little off. I realize that teal is a hard color and can be interpreted differently. Some of the prints are more green while others are more blue. Since the pattern only uses 6 of the 10 fat quarters included in the bundle, I decided to not hassle with a return and just go for it.

I am also using a navy print from my stash along with a subtle white on white floral. The backing will be a muddled teal.
As of date here is my progress; I have made my own pattern templates and began cutting hexes. Since the hexagons are not standard size, I used an old school technique and made them from cereal boxes. I photocopied the pattern (so as not to ruin the original pattern) and Mod Podged them onto the back of a box. I have since discovered that acrylic templates are available from the pattern designer but they do not ship to the US. I have begun the slow process of tracing each hexagon and cutting them by hand. I tried using a rotary cutter but found I was accidently cutting the template too. This is definitely adding more time than expected to the project. Since I do not need all of the pieces right away, I am just going to chip away at this slowly. When I think of how many quilts my grandmother made this way, it only makes me appreciate them more.

I have decided to begin with what I think will be the most time-consuming pieces, the embroidered filler hexagons. I am using a wash away stabilizer to transfer the pattern. I am excited to say that I have completed 6 of them – I am all about celebrating the small victories in this project. These are completed 100% by hand. Yes, you could machine quilt them but this is my slow stitching project an I am happy to take my time and enjoy each stitch.
I will update you as I continue this journey, until then, I will be taking life one stitch at a time.
Momma B