

Over the years, Lily has accumulated a rather large collection of SWAPS. She wanted to be able to store / display them. She created a simple banner and added the SWAPS to it.
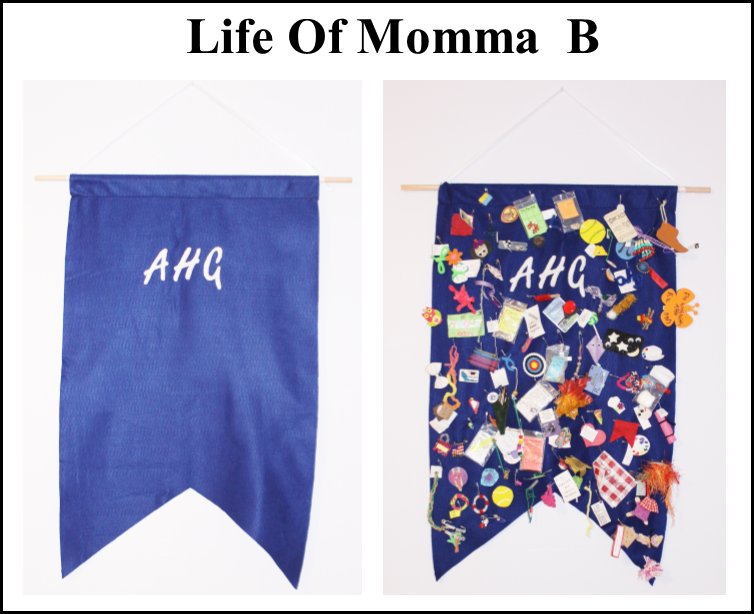
She began with a large piece of blue felt (21×38 inches). Using the sewing machine, she added a pocket by folding the top over. The dowel was cut 6 inches longer than the banner width.
To create the letters, she found a font she liked on the computer and printed out the letters. She cut out the paper letters and turned them upside down to trace onto a piece of white felt (This prevented any of her tracing lines from showing if her cuts were not precise). The letters were then cut and glued on with Tacky Glue. She opted to use a simple square knot to add the ribbon.
The banner is now hanging in her room as a great reminder of all the friends she has made and the events she has attended. She is already planning to make a second banner after she returns from the AHG National Convention in June.
This project can be used towards completing Textile Arts Requirements 2, 9, 15
NOTE: The requirements have been simplified here. Please be sure to read the full text in the Girl Handbook to make sure you fully understand the requirements.

Can’t wait for convention next month. My daughter and i are getting our SWAPS ready!
I’m looking forward to the adult sessions and working with the tenderhearts one day too