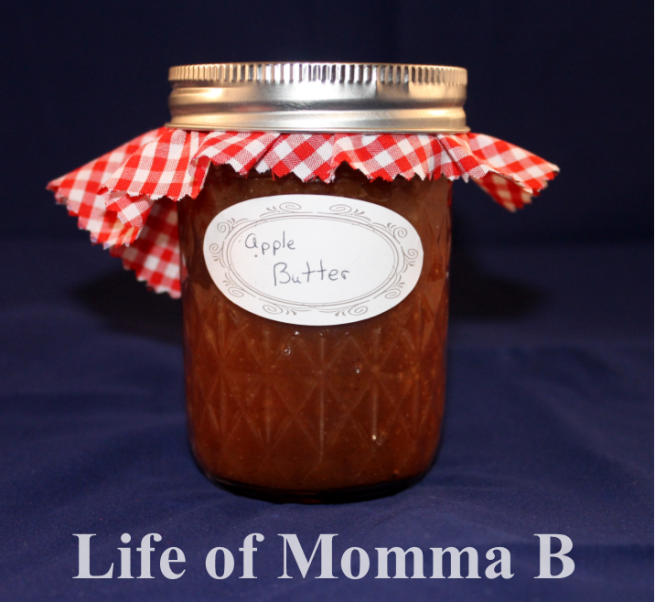
Fall is officially my favorite season. The weather is getting cooler and you are able to spend more time outside. The leaves are changing colors and the Creators handiwork is present everywhere you look. And the house is full of wonderful smells – including homemade Low Sugar Apple Butter.
Each year I can apple butter for my family. With the increase in the number of diabetics in the family, I opted to make a low sugar variety this year. This recipe uses a small amount of sugar (1/4 cup of brown sugar) compared to 2+ cups used in traditional recipes. The sugar aids in the breakdown of the apples, so I didn’t want to eliminate it all together.
This recipe works for any type of eating apple you choose. (Fuji and Gala are my personal favorite – stay away from tart apples, like Granny Smith). The amount of sweetener needed will vary by the apple type, and by the batch (since each apple can have a different amount of natural sugar, based upon growing conditions).
LOW SUGAR APPLE BUTTER
6 pounds of apples
1/4 cup brown sugar
2 teaspoons cinnamon
1/2 teaspoon ground cloves
1 teaspoon salt
1 Tablespoon of vanilla
approximately 1/3 cup of artificial sweetener (I used Stevia)
Begin by peeling and coring the apples. Then rough chop them into 1/2 inch pieces. Place the apples, brown sugar, cinnamon, cloves, salt and vanilla is a large slow-cooker. Cook on high for 4 hours.
Stir the apples and turn the lid to allow extra water to evaporate. Cook an additional 4 hours, until all the excess liquid has cooked out of them, stirring occasionally. Using an immersion blender, puree the apples to create a smooth texture. Add a small amount of artificial sweetener based upon your taste.
Pour Apple Butter into warm jars, that have been sterilized, leaving a 1/4 inch head space. Add jar lid and ring and submerge in a large pot of water. Cover with water and bring to a boil. Boil 12 minutes, then remove from heat and allow to sit in the hot water for 5 additional minutes. Remove jars and allow to cool. Once they have cooled completely, check to ensure the jars are sealed.
I opted to add a little scrap of fabric, to dress up the jars. Along with a loaf of fresh-baked bread, these make a wonderful gift.
NOTES: The immersion blender gave me a perfectly smooth mixture. A food processor, or mixer would also work.

