Coming Unhinged

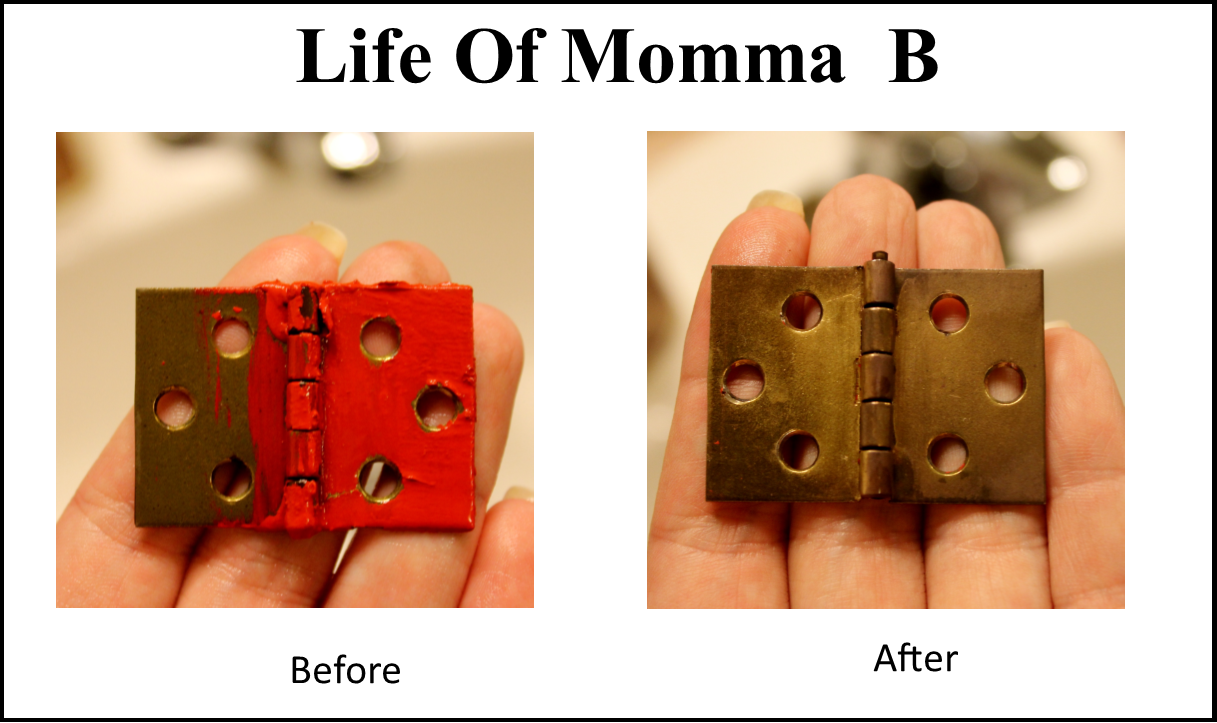
Recently while visiting my sister, I was able to help her with a project she was working on. She purchased a previously loved piano bench and was refinishing it for her husband. Originally it was “fire engine” red and had a distressed look. After stripping it and repainting it black, she was stuck with what to do with the hinges.  The previous owner had been a bit sloppy and the once brass hinges were now red.

hinges

After some internet research we opted to try a method recommended by This Old House. I have to admit I was a little skeptical at first, and if it had not come from such a reliable source I may not have tried it.

Here is a review of how we removed the red paint. We began with her large 6 quart slow-cooker and used a slow-cooker liner (Reynolds brand). We filled it half full with water and a cap full of laundry detergent (All brand).  We placed two hinges and the twelve screws in the pot and set it on high for eight hours and headed out for a day of sight-seeing. When we returned we were able to use a toothbrush and scrub the paint off.

We took a break part way through for dinner, so when we came back to finish we just turned the cooker back on and went back to scrubbing. If the paint did not all come off in the first attempt we placed it back in the water while we worked on the other pieces. We found that as the pieces cooled the paint re-stuck. Keeping the pieces hot was the key.


DIY Welcome Mat

As we welcome in the new year, let me welcome you into my home. Door mat

Do you realize that your front door makes a big impression on your house? Just like they say, the first impression is a lasting impression. A door mat is part of that first impression. In preparing for a new house, I also wanted a new doormat. Out with the old dirty one and in with a personalized one. But like always, price is a factor. Monogrammed doormats can be found on Amazon for $25 and more (some were over $100 – ridiculous). I was determined to find a less expensive alternative – enter another DIY project. For less than $6 (including tax) and some supplies I had on hand I now have a new doormat.

 diy Welcome Mat

I began with a plain doormat I found at IKEA for $4.99 and add some supplies I had on hand (a foam brush, acrylic paint, and some vinyl). Not pictured above is a smaller paint brush to help get into the crevices of the mat.

I used my trusty Cricut to cut a large letter B. I discarded the letter and kept the stencil. I applied the vinyl to the mat, being certain to a make sure it stuck to as many points on the woven mat as possible.

Next, I applied a coat of outdoor acrylic paint over the stencil with a foam brush. At this point I realized that the paint was sitting on the top of the mat at the high points and not getting in between the fibers very well, so I used a smaller brush. While the paint was still wet, I removed the stencil and touched up any spots that were missed.

All that was left was to let it dry and set it out at the new house.