

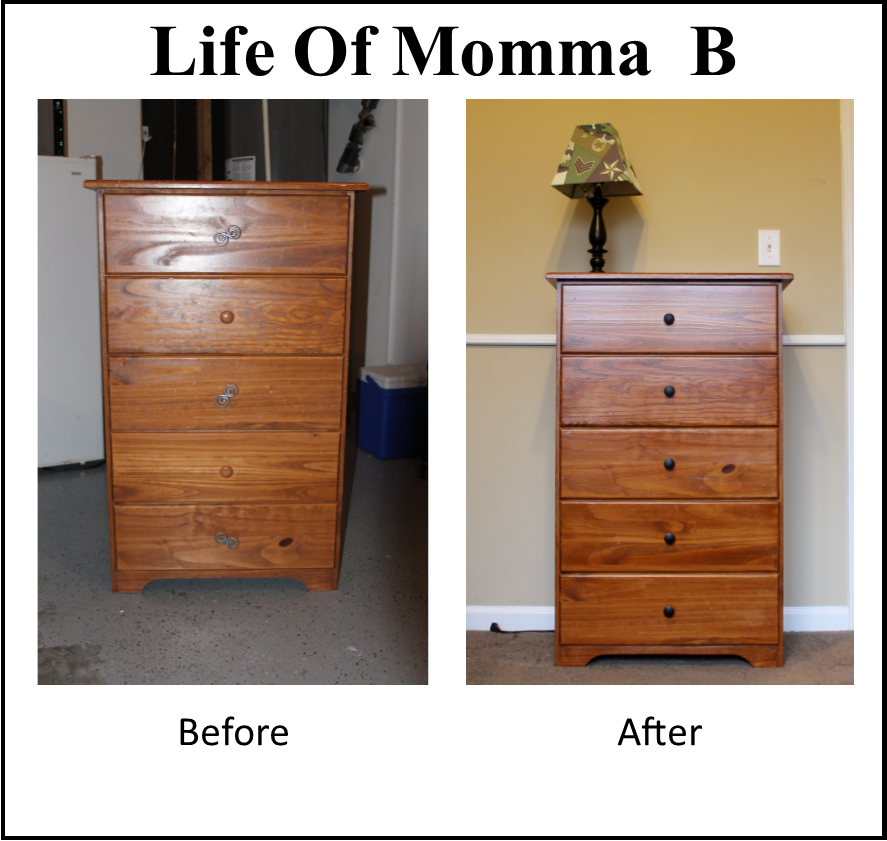
When Gary was about three he received a solid wood dresser. Well, it has been 12 years and it is showing a bit of wear. The dresser itself was in good condition but the exterior (especially the top) had experienced the love of a growing boy. I decided to re-finish it to bring it back to life and hopefully extend its life another 12 years.
 Step one – sand. I used my electric sander to remove the shine that was left from the old finish and to smooth out some of the dings. Some of them were too deep and could not be removed with the sander. Sanding also helped remove the grime that was on the dresser. I am not one to clean my children’s rooms, that is their responsibility.
Step two – clean. I used a damp cloth to remove any of the sanding dust that was on the furniture. I knew I would have to clean it again, so at this point I was not too concerned about getting it all.
Step three – repair. I used some Minwax stainable wood filler to fill in the places that were too deep to be sanded out. My son had a few gouges in the piece. I followed the directions on the packaging. After allowing it to dry I sanded them smooth.
Step four – CLEAN. This time I needed to remove all the dust from the dresser. When I went over the places that I had filled with the wood filler it came out. My guess is that the places were not deep enough for the filler to hold too. If I had to do a project like this again, I think I would skip step 3 altogether. I dreamed of it looking like it did when it was new, but a reality check said this is as good as it is going to get.
Step five – stain. I purchased a pint of Minwax PolyShades in Pecan. I opted for this product because it included both a stain and finish in one product. With two applications, I was done. I chose a color that was close to the original. It did darken the piece just a tad, but still matches the other pieces of furniture in his room.
Step six – new hardware. Somewhere along the way some of the original knobs had gotten lost, and he had an eclectic blend of drawer pulls. This could have had something to do with the stage of disassembling things with a screwdriver, who knows – I really don’t remember anymore. We went to the hardware store together and found a set that we both could agree upon.
This was my first time attempting to stain furniture. For me it was a positive experience (other than the wood filler). It has given me confidence to tackle other pieces that could use a little help.
