Strawberry Fruit Snacks

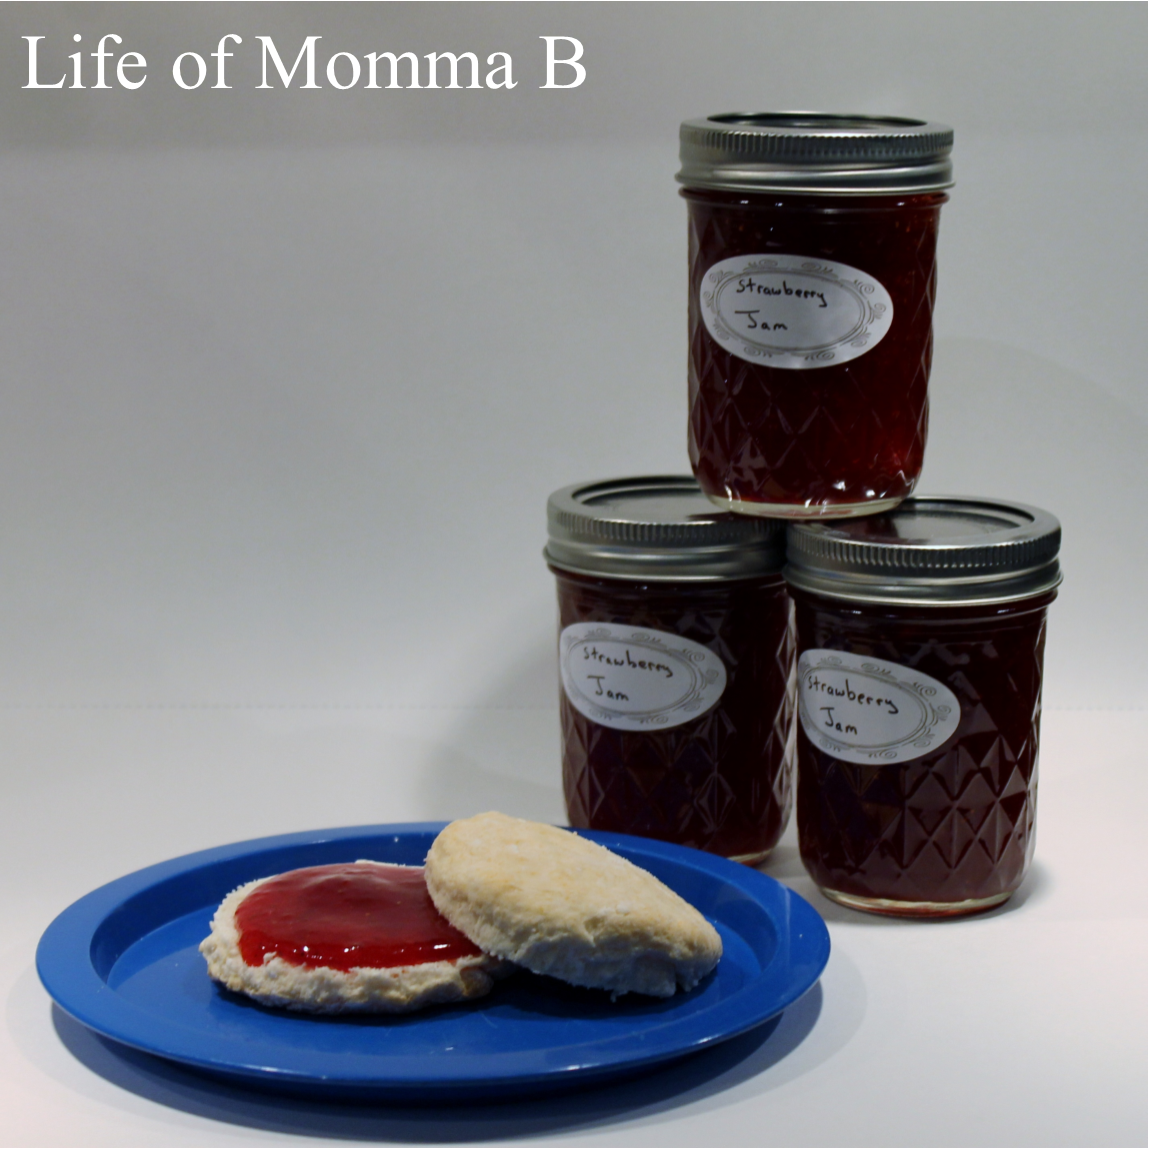
Are you ready for the final installment of strawberries? I think my family is about tired of them. They have consumed 1 and a half jars of jam already. I think I better start rationing it out or it will not last the year.

With my strawberries I also decided to made some fruit snacks. I was surfing the web looking for ideas to use the strawberries and stumbled upon this recipe.

I had lots of strawberries and gelatin (not the kind from grass feed cows like they recommended but the Knox brand in packets). However, I did not have all the ingredients so I modified the recipe to match what I had in my pantry.

Homemade Strawberry Fruit Snacks

STRAWBERRY FRUIT SNACKS
2/3 cups smashed strawberries
1/4 cup orange juice
3 Tablespoon lemon juice
3 Tablespoon honey
1/4 cup water
4 packets of unflavored gelatin

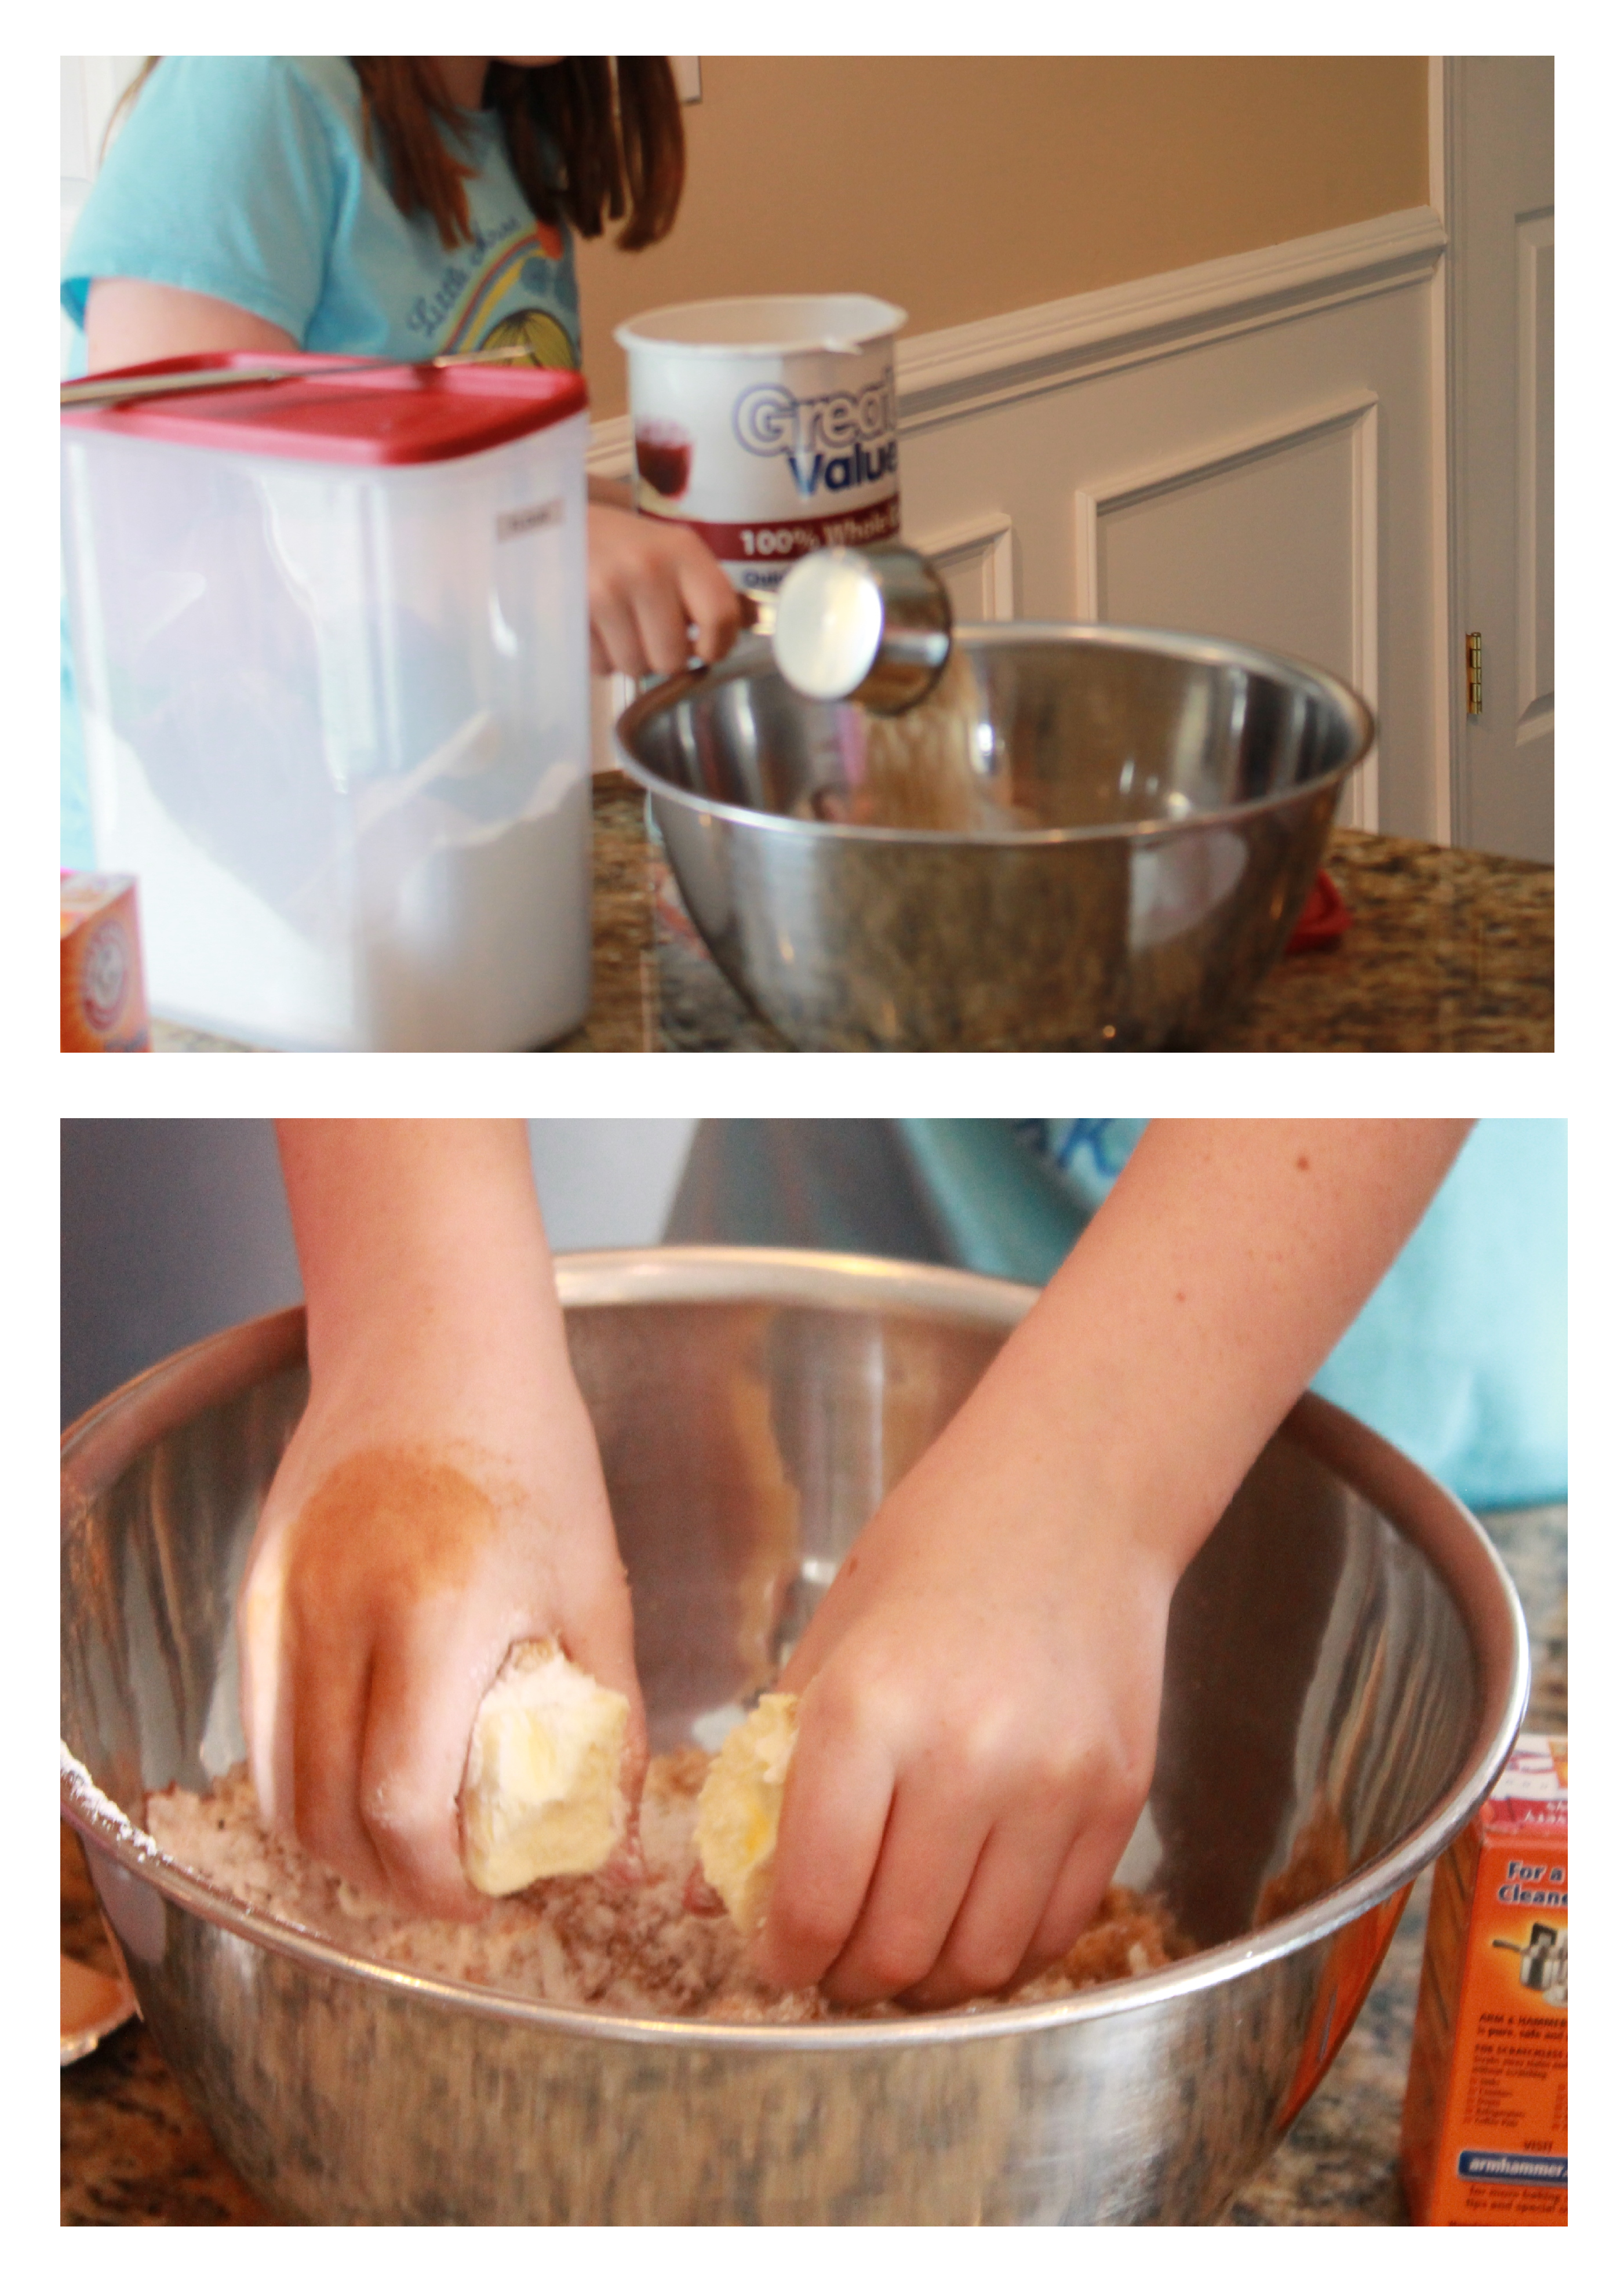
Combine strawberries and liquids in a small sauce pan over medium heat. Once the strawberries begin to break down add the honey and stir until dissolved. Using an immersion blender break the strawberries up until it is all liquid.  Remove from heat and let sit 5 minutes.  Gradually stir in gelatin, being careful to dissolve each packet as you go.  Use the immersion blender again to ensure all lumps have been removed.  Pour into an 8×8 glass casserole and let set in fridge for one hour.  Use a knife to loosen the edge and gently remove from dish. Cut into small squares.

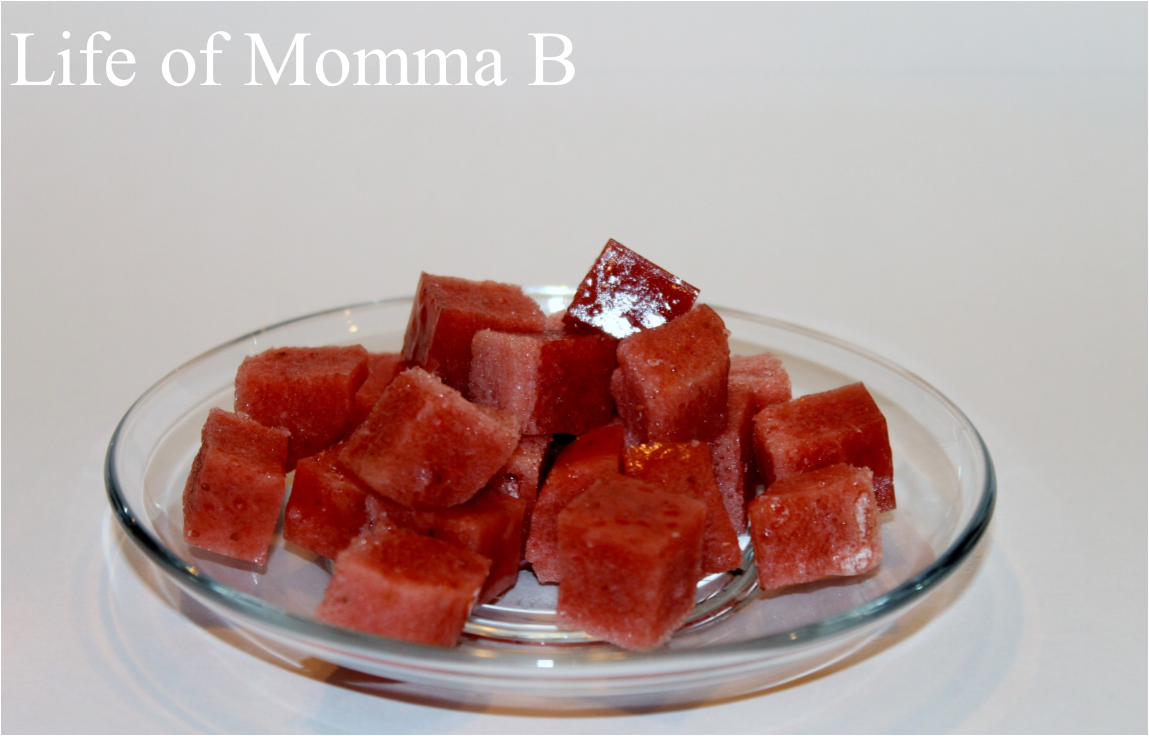
NOTES:  My family did not like these. While the flavor was okay, the consistency was off. They are a bit too firm. Also, the use of the immersion blender added air to the mixture so all of the pieces have a film on top (this is the lighter part on each piece in the picture). My kids are eating them but asked me not to make them again (and I don’t buy the other fruit snacks except on rare occasions).

Updated on 7/15/2013: here is a printable recipe card Strawberry Fruit Snacks

Strawberry Jam

For the record – 4 gallons of strawberries is a lot of strawberries. I had to find a way to use them and lots of them. What could be better than Strawberry Jam. One problem, I have never canned anything in my life. What is one to do but search the internet. It is full of tips and makes it seem so easy. I decided I was up to a challenge and conquered the fear of making jam with a lot of success I might add.

Strawberry Jam

After reading a dozen plus websites I found The Pioneer Woman’s Canning 101 and Strawberry Jam blog entry (here). I read her posts multiple times.  And made a few changes so here we go.

STRAWBERRY JAM
2  1/2 cups smashed strawberries
2 Tablespoons lemon juice
5  1/4 teaspoons fruit pectin
1/2 teaspoon butter
3  1/2 cups sugar

Begin by cleaning a batch of strawberries and smashing them with an immersion blender. Now measure the strawberries and add them to a pot with the lemon juice and pectin. Stir until well combined then add butter. Bring to a boil. Then add sugar and return to a rolling boil. Allow to boil for 1 minute.  Then remove from heat. Use a spoon to remove any foam that has formed on the top.

Pour jam into warm jars, that have been sterilized, leaving a 1/4 inch head space. Add jar lid and ring and submerge in a large pot of water. Cover with water and bring to a boil. Boil 12 minutes, then remove from heat and allow to sit in the hot water for 5 additional minutes. Remove jars and allow to cool. Once they have cooled check to ensure the seals.

NOTES: The immersion blender gave me less chucks of fruit than I intended but it works great (a food processor would also work). The final jam was a little on the sweet side so next time I will reduce the sugar added, but don’t worry it was still good and my family cannot get enough. The butter is supposed to reduce the amount of film that forms during the boiling stage.

Updated on 7/15/2013: here is a printable recipe card Strawberry Jam

Strawberry Topping

As I posted on May 29th with the help of my family, I have 4 gallons of Strawberries (see here). I used some of them to make strawberry ice-cream topping.

Strawberry Topping

STRAWBERRY TOPPING
2 cups diced strawberries
1/3 cup sugar
1/3 cup water
1 tablespoon corn starch
2 tablespoons water (in addition to 1/3 cup above)

Wash and cut strawberries into small pieces. Combine berries, sugar and 1/3 cup of water in a small saucepan. Bring to a boil over medium-high heat. In a small bowl combine corn starch and 2 tablespoons of water. Add cornstarch to the boiling berries. Reduce heat and continue to boil for 4 minutes until it is thick, stirring frequently. Remove from heat and allow to cool before using. Store in fridge until ready to use.

NOTES: Upon researching this I found many recipes that were basically the same. Some say that you can freeze the topping for future use. I did freeze one batch. After I finish the batch in the fridge I will update to let you know how it worked.

Updated on 7/15/2013: here is a printable recipe card Strawberry Topping

Oatmeal Cookies

Do your kids love to help cook? Does having them “help” only lead to more problems.  Well, I have found a solution. Here is an easy recipe for oatmeal cookies. My kids love these and they can make them all by themselves.  All they have to do is measure the ingredients and then use their hands to mix it all up.  My oldest niece recently came for a visit so I sent the three kids to the kitchen to make cookies.

oatmeal cookies

EASY OATMEAL COOKIES

1 cup brown sugar
2 cups quick oats
1 cup butter
1 cup all-purpose flour
1 teaspoon baking soda
1 teaspoon cinnamon
Place all ingredients in a large bowl and mix with your hands. Form dough into small balls and place on an ungreased cookie sheet. Flatten each ball slightly with the bottom of a glass dipped in granulated sugar. Bake at 325 for 8-10 minutes.

NOTE:
*Do not use low-fat margarine it will not work.
*These are great with even young children, most seem to enjoy getting their fingers messy.

Easy Oatmeal Cookies

Updated on 7/15/2013: here is a printable recipe card Oatmeal Cookies

Cream Cheese and Garlic Mashed Potatoes

Sitting in my potato bin are a few too many potatoes! As I stare at them, I am determined to find something different to do with them. Then it hit me – use cream cheese instead of butter!

cream cheese garlic mashed potatoes

Cream Cheese and Garlic Mashed Potatoes*
2 Really large baking potatoes (about 2 pounds)
4 oz cream cheese softened
1/2 teaspoon garlic powder
1/4 teaspoon of dried parsley
about 1/2 cup of milk
salt and pepper

Peel and cube potatoes. But into a large pot and cover with water. Bring to a boil and cook 5-10 minutes until a fork can easily be inserted (time depends on the size of the potato pieces). Drain and place in a mixing bowl. Add cream cheese and stir until in melts into the potatoes. Add garlic and parsley and a small about of milk. Cream using an electric mixture. Keep adding milk until they are smooth. Add salt and pepper to taste.

Tip:
Top serving bowl with extra parsley flakes.

*the picture above is not of the full dish but the left-overs with a little fresh parsley

Updated on 7/15/2013: here is a printable recipe card Cream Cheese Mashed Potatoes