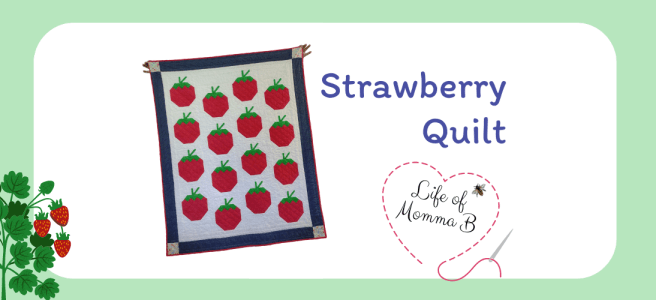
Thank you for stopping by today. For those of you who have been following along, I have temporarily (or at least that is the plan) set aside my New Year’s Eve Mystery Quilt to complete one of my UFO’s. My Strawberry Quilt is 100% complete.

I designed this quilt sometime ago. Inspiration came from a piece of wide fabric I picked up at a destash event. When I came across it, I fell in love with it. At the time, I had no idea what I would do with it, but could not leave it behind. It has sat in my stash for a little while. I set out to make a quilt for my youngest niece, and browsing my stash remembered this piece of fabric, and built the quilt around it.
My first thought was to include it in the front, but I just could not find a pattern that I was happy with. So, I used the theme and colors as inspiration for the front. In addition to the back, I also used it as the cornerstones. As the fabric was not was not quite long enough to cover the back, I added a little border to the top and bottom to complete the back.

For the quilting I used a combination of designs. I began by filling the background with a large meandering free motion design. Then switched to my walking foot to outline the strawberries and create a diagonal grid on the strawberry body. I finished off the quilt with red binding.
I am happy to report that it has been gifted and now back to the New Year’s Eve Mystery Quilt. I am at the dreaded stage of pressing my HST seams open. It is so hard for me to find the motivation to spend time at the ironing board. Since they are not going to press themselves, I guess I better get back to it.
Happy Quilting.